My Blinkie

Blinkie

Popular Posts
-
TWILIGHT ORCHARD BLOG TRAIN! Welcome to my stop on the Twilight Orchard Blog Train! I hope you enjoy my free contribution inspired by cozy ...
-
Welcome aboard the Midnight Garden Blog Train! 🌙 Click HERE to download my contribution to this enchanting blog train. Be sure to visit al...
-
Okay, ladies... you know I had to do a kit just for the black cats! 🖤🐾 Purrfectly Spooky is all about those whiskers, paws, and that lit...
-
Here’s a template called Fall in Love . Perfect for crunchy leaves, cozy vibes, and autumn romance! You can download the template HERE
-
This template was supposed to be named Pumpkin Kisses & Harvest Wishes. A little mix-up, but the cozy fall vibes are still on point...
-
Here’s a template named Friendsgiving. Perfect for celebrating friendship, food, and all the cozy vibes of the season! You can download t...
-
 This tutorial was written on August 19,2013 by me . Any similarities to other tutorials is purely coincidental.Please do not clai...
 -
This one is called Friends Make Fall Fantastic, because autumn is even better with your favorite people by your side! You can download this...
-
 This tutorial was written on January 6,2014 by me . Any similarities to other tutorials is purely coincidental.Please do not claim as y...
 -
 Hi all, made some wordart, templates, and masks for the Misfits Blog Challenge over at Creative Misfits. There are tons of free goodies for...


Showing posts with label Artistic Dreams Imaging. Show all posts
Showing posts with label Artistic Dreams Imaging. Show all posts
Monday, January 6, 2014

This tutorial was written on January 6,2014 by me . Any similarities to other tutorials is purely coincidental.Please do not claim as your own.This tutorial writter assumes you have a working knowledge of using Paint Shop Pro.This tutorial was done in Paint Shop ProX4, but can be use in other Paint Shop Pro versions. Please link to this blog if used for Forum Challenges.
Materials needed:
Tube by Michele Ann I got this one when DSI was still opened but you can now purchase her work on ADI here
Scrap Kit: PTU "Immortal Love" by PinkParadox Productions
Font of your choice
*d/s=drop shadow, c/p= copy and paste
Lets Begin! Open up an image 700x700 . Open frame 13 and c/p to your canvas. Select inside your frame and go to modify, expand by 15. C/p paper 12 hit invert and delete. now place your tube in front of your frame layer and. Duplicate and on the top layer add Gaussian blur of 4 and set blend mode to overlay and the opacity to 70. Sharpen the bottom tube and add the following elements to your tag see mine for placement.
E 20,E 84, E 101,E 105,E 124, E 145.
Now add your copyrights and your name and that's it your finished! thanks for trying out my tutorial!

Made this tag using the beautiful kit "Immortal Love" from PinkParadox Productions. This kit is so beautiful and has many beautiful elements! you can find this kit here


Wednesday, December 4, 2013

Made this tag with the beautiful art of Al Rio which you can get at Artistic Dreams Imaging and the beautiful kit from Tiny Turtle Designs named Red and Black Daisy Fairy kit.


Monday, November 18, 2013

This tutorial was written on November 18,2013 by me . Any similarities to other tutorials is purely coincidental.Please do not claim as your own.This tutorial writter assumes you have a working knowledge of using Paint Shop Pro.This tutorial was done in Paint Shop ProX4, but can be use in other Paint Shop Pro versions. Please link to this blog if used for Forum Challenges.
Materials needed:
Tube: AR-Christmas Girls 8 by Al Rio which you can find at Artistic Dreams Imaging
Scrap Kit: PTU "Christmas Fairy" by Tiny Turtle Designs
Mask: Winter Mask 8 by Dee
Template: 21 by Leah
Font: YummyCupcakes, Quill
Filters:
Eye Candy 4000, Gradient Glow
*d/s=drop shadow, c/p= copy and paste
Lets Start! Open up the template. Press Shift + D and close the original. Delete the credits and I also deleted the ribbon layers and Christmas Word Art. Select Oval 3 and c/p paper 9. Select oval 2 and c/p paper 3. Select Rect 2 and rect 1 and c/p paper 38. Select Squares 1 and 2 and c/p paper 39 add Noise of 90 and sharpen. Select Oval 1 c/p paper 1. Add Gradient Glow of Fat and choose colors of your choice. I added it to all of the layers of the templates. except oval 1.
Add your tube and place it in the middle of the tag. Add the following elements and see my tag for placement.
Element 163
Element 159
Element 172
Element 152
Element 88
Element 16
Add a d/s of choice to all the elements. Now on the tube layers duplicate and add and Gaussian blur of 3 and Overlay and set opacity to 70 %. add d/s. Now for your mask c/p paper of choice and apply your mask. Add your copyright information. Add your name and that's it your done. thanks for trying out my tutorial!
Friday, September 20, 2013

you can buy this awesome tube and more of his art here


Saturday, September 7, 2013
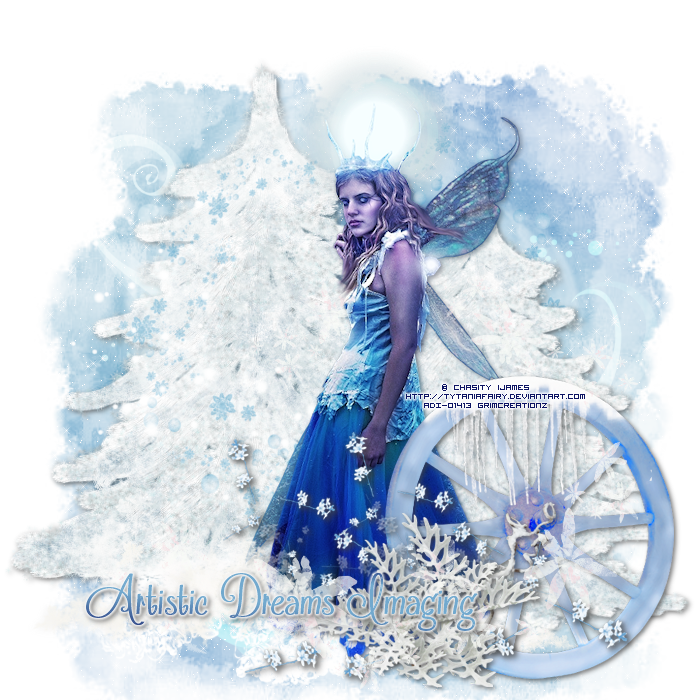

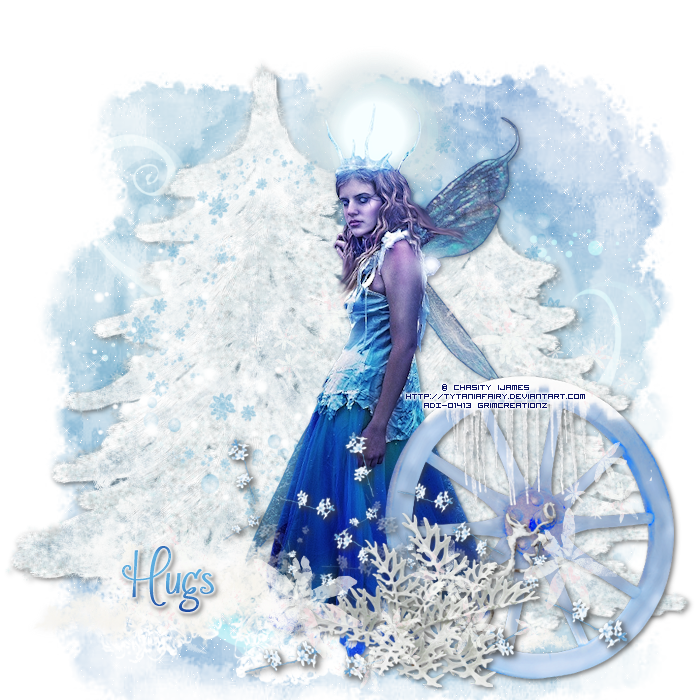
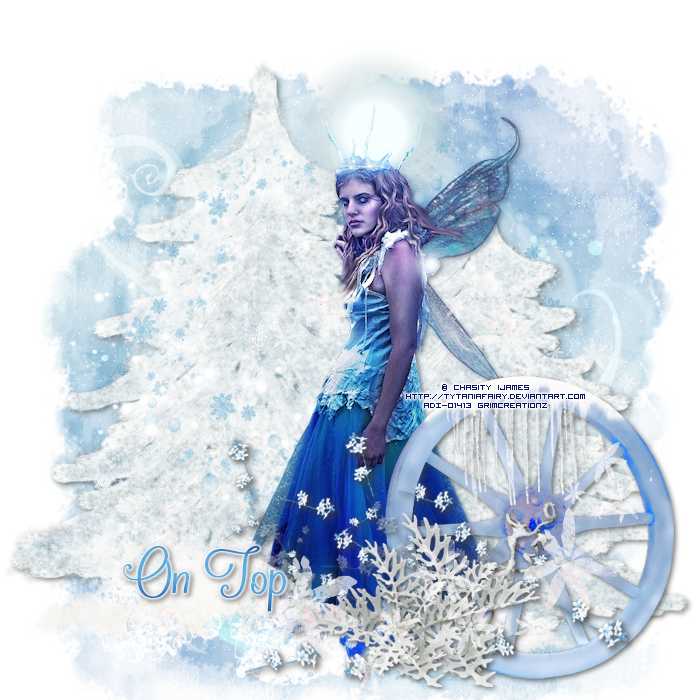
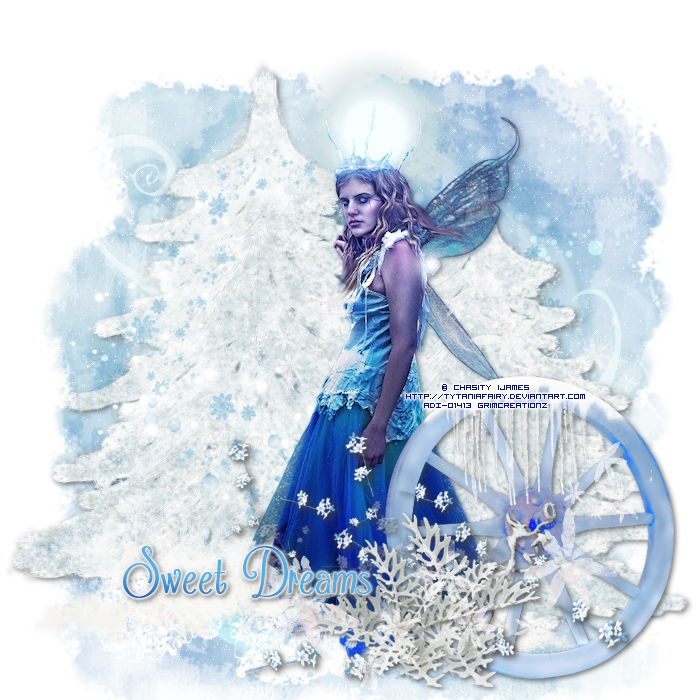
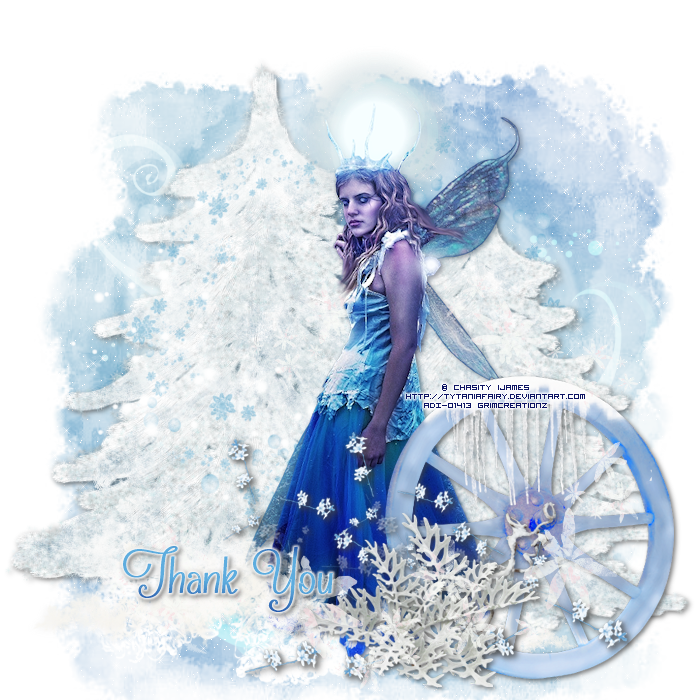
CT tag for Artistic Dreams Imaging using the art of Chasity IJames you can purchase this and other tubes at ADI. Here are the extras hope you like them!
Saturday, August 31, 2013


Made this tag with the Beautiful Art of Al Rio, which you can purchase at ADI. Click the tag above to visit the store's blog for more awesome freebies and tutorials.
Here are the extras hope you like them!


Tuesday, August 20, 2013
Here are some extras for the Michele Ann tag Pain. Hope you like them
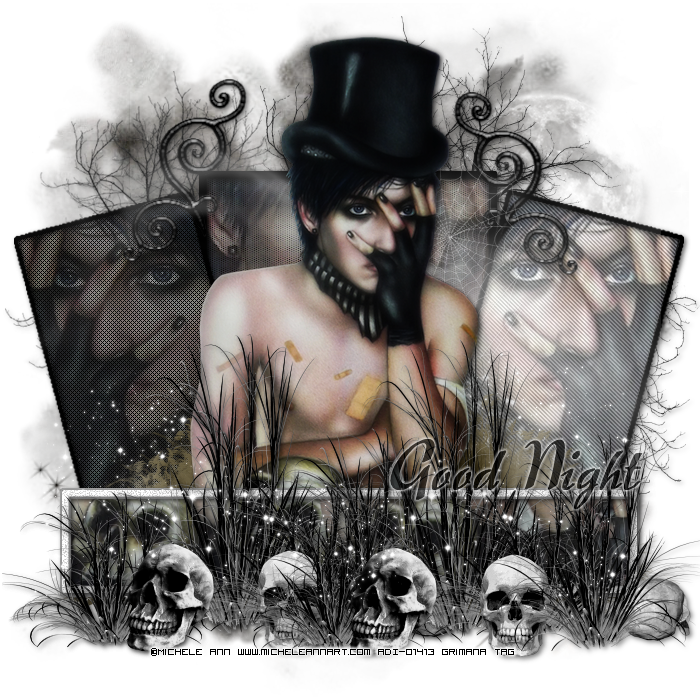
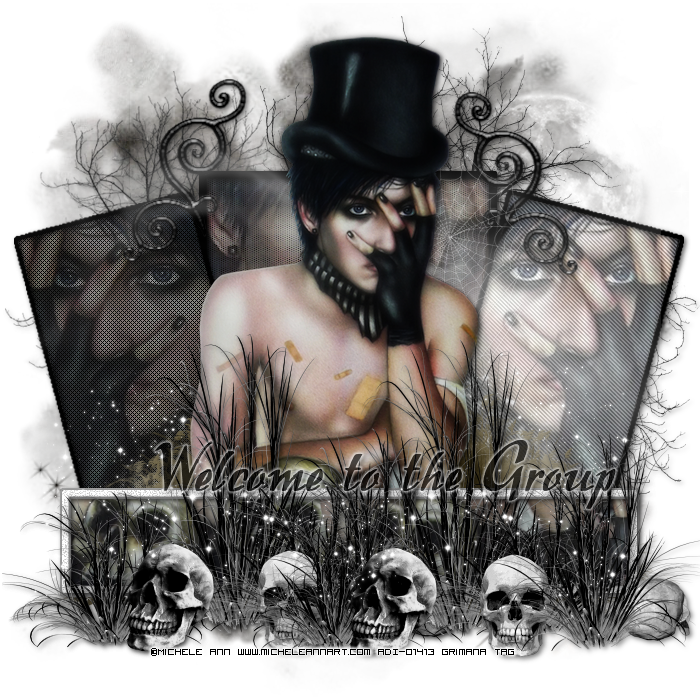
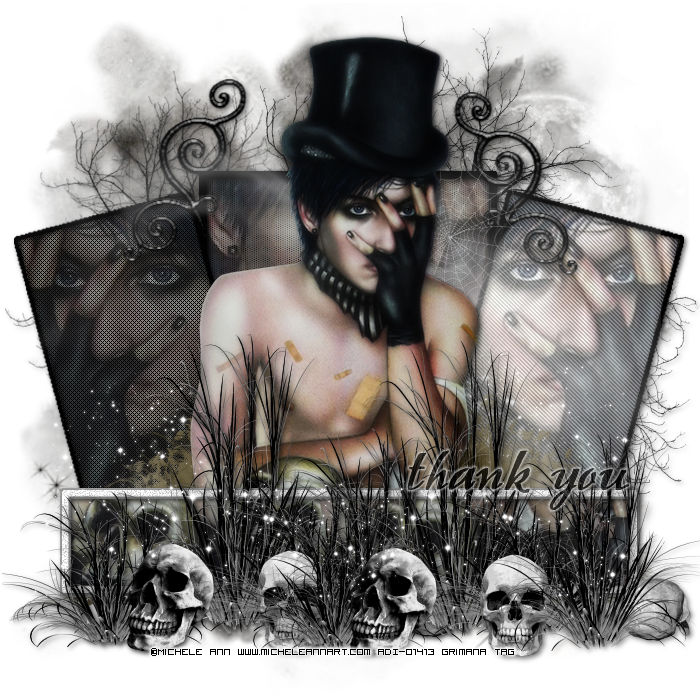
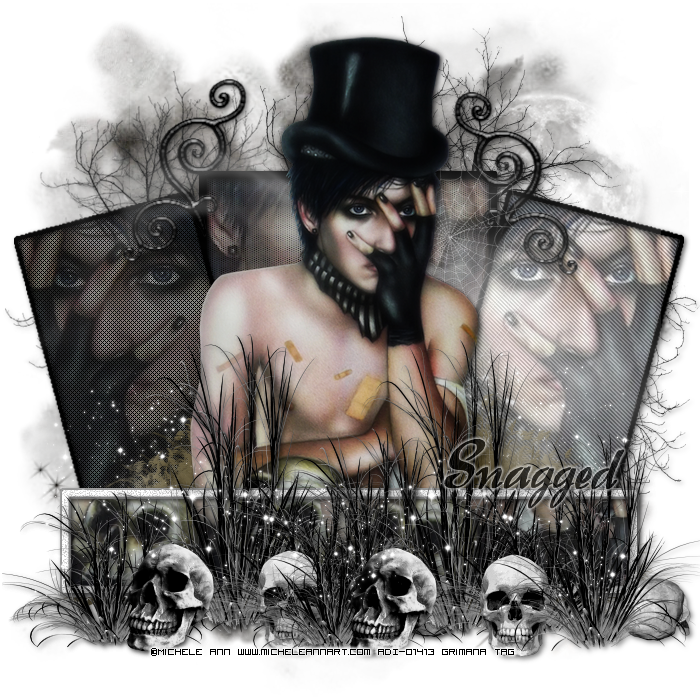


This tutorial was written on August 19,2013 by me . Any similarities to other tutorials is purely coincidental.Please do not claim as your own.This tutorial writter assumes you have a working knowledge of using Paint Shop Pro.This tutorial was done in Paint Shop ProX4, but can be use in other Paint Shop Pro versions. Please link to this blog if used for Forum Tutorials
Materials needed:
Tube: pain 2 by Michele Ann you can purchase her tubes at Artistic Dreams Imaging
Scrap Kit: FTU Demon Night by Inzpired Creationz
Mask 69 by Simone
Filters:
Xero Radiance
Eye Candy 4000, Gradient Glow
Penta-Jeans
ScreenWorks- Dot Screen and Light Gauze
Lets Begin!
Open up template 3 and press shift +D. close the original template,now delete the credits layer and both red doodles. Select the lrg rect layer and go to Selections, select all Float and defloat. Now open Select 2 colors from you tube and make it a gradient on top of the lrg rect add a new raster layer and flood fill with the gradient you have chosen. Invert, delete now add your tube invert delete and now deselect. add the Dot Screen filter and change the blend mode to screen and set the opacity to 70. Select rectangle 1 select all, float and defloat copy your tube again resize by 75 mirror then invert and delete . Add the filter light gauze and change the blend mode again to screen and lower opacity to 70. Add your tube again and make sure it's above rectangle 2. Select the rectangle 2 layer and go to select , float and defloat. On your tube layer resize and go to invert and delete add penta Jeans to default settings. Copy your tube once again and move it so it's above the thin rect layer resize. Duplicate on the top layer add gaussian blur of 3. then set blend mode to soft light. on the bottom layer add the Xero Radiance of choice and then add shadow. On the thin rec layer copy your tube in in front of that layer and place how ever you want I duplicated it 3 times with just the skull showing. Now add the following elements to your tag, see mine for placement:
Fog 2
grass 1 duplicate and change color to gray
grass 2
moon
tree 2 duplicate
Web 4
Open paper 4 and add the mask. I used star brushes I found a long time ago so I don't remember were I got them from sorry. Add your name I used a font named raindrops in black and I added a medium glow of 3 in white. then change the opacity to 70. Add your copyrights and that's it! thank you for trying my tutorial! I would love to see any results! just email me at grimAna22@gmail.com
Fog 2
grass 1 duplicate and change color to gray
grass 2
moon
tree 2 duplicate
Web 4
Open paper 4 and add the mask. I used star brushes I found a long time ago so I don't remember were I got them from sorry. Add your name I used a font named raindrops in black and I added a medium glow of 3 in white. then change the opacity to 70. Add your copyrights and that's it! thank you for trying my tutorial! I would love to see any results! just email me at grimAna22@gmail.com
Subscribe to:
Posts
(Atom)
About Me

- Ana Grimaldo
- Hi I'm Ana or grimAna. I'm a mother of 3. I love tagging, reading, drawing and I love anything to do with homemade things or DIY!
Proud Member


