My Blinkie

Popular Posts
-
Welcome aboard the Midnight Garden Blog Train! 🌙 Click HERE to download my contribution to this enchanting blog train. Be sure to visit al...
-
TWILIGHT ORCHARD BLOG TRAIN! Welcome to my stop on the Twilight Orchard Blog Train! I hope you enjoy my free contribution inspired by cozy ...
-
This one is for all my spooky girlies who love a little mystery and a lot of witchy glam. Sorceress Enigma is moody, magical, and packed wi...
-
 Here are more masks for you all they were supposed to be Halloween masks but don't necessarily need to use them like that.
 -
 Made this tag using this awesome Halloween kit from Abstract Creations named "Pumpkin Party"! this kit is so beautiful love th...
 -
 Here are some masks I made at the beginning of the month. Hope you all like them! Hugs
 -
 This tutorial was written on August 19,2013 by me . Any similarities to other tutorials is purely coincidental.Please do not clai...
 -
 This tutorial was written on June 7,2013 by me . Any similarities to another tutorial is purely coincidental.Please do not claim as...
 -
 Hi everyone! I have some new winter masks for you all. Hope you guys can use them in your projects.


Showing posts with label PinkParadox Productions. Show all posts
Showing posts with label PinkParadox Productions. Show all posts
Monday, January 6, 2014

This tutorial was written on January 6,2014 by me . Any similarities to other tutorials is purely coincidental.Please do not claim as your own.This tutorial writter assumes you have a working knowledge of using Paint Shop Pro.This tutorial was done in Paint Shop ProX4, but can be use in other Paint Shop Pro versions. Please link to this blog if used for Forum Challenges.
Materials needed:
Tube by Michele Ann I got this one when DSI was still opened but you can now purchase her work on ADI here
Scrap Kit: PTU "Immortal Love" by PinkParadox Productions
Font of your choice
*d/s=drop shadow, c/p= copy and paste
Lets Begin! Open up an image 700x700 . Open frame 13 and c/p to your canvas. Select inside your frame and go to modify, expand by 15. C/p paper 12 hit invert and delete. now place your tube in front of your frame layer and. Duplicate and on the top layer add Gaussian blur of 4 and set blend mode to overlay and the opacity to 70. Sharpen the bottom tube and add the following elements to your tag see mine for placement.
E 20,E 84, E 101,E 105,E 124, E 145.
Now add your copyrights and your name and that's it your finished! thanks for trying out my tutorial!

Made this tag using the beautiful kit "Immortal Love" from PinkParadox Productions. This kit is so beautiful and has many beautiful elements! you can find this kit here


Thursday, January 2, 2014

Another tag using the beautiful kit from PinkParadox Productions called Elegant Holiday and the art of Verymany. get this kit on her store here


Thursday, November 28, 2013

Made this tag with this awesome Wonderland inspired Christmas kit named "Christmas in Wonderland by PinkParadox Productions! It has so many beautiful elements! you can get this kit here. Just click on the image below. I also used the awesome animations by Simone! thanks for this awesome animation you can get this and other animations from here on her blog here

and.... here are the extras hope you like them!


Thursday, November 21, 2013


Tuesday, October 15, 2013

This tutorial was written on October 15 ,2013 by me . Any similarities to other tutorials is purely coincidental.Please do not claim as your own.This tutorial writter assumes you have a working knowledge of using Paint Shop Pro.This tutorial was done in Paint Shop ProX4, but can be use in other Paint Shop Pro versions. Please link to this blog if used for Forum Challenges.
Materials needed:
Tube: Ms. Thorn by Redfill which you can find at PicsForDesign
Scrap Kit: PTU kit BCA: A Girl's Heart by PinkParadox Productions
Mask: Vix_BigMask019
star brushes of choice
Font: Monika, Carpenter ICG
Font: Monika, Carpenter ICG
Filters:
Xero Radiance
Eye Candy 4000, Gradient Glow
Screen Works-Net Pattern
Noise
*d/s=drop shadow, c/p= copy and paste
Lets Start! Open up an Image 700x700. Add Frame 9, Select inside the frame and Expand by 10 then invert. Now add paper 21 and position it after the frame layer. Hit delete and deselect. Now on the paper layer add Screen Works - Net Pattern .
Add Element 123 and resize to fit on top of frame. Add your tube and erase the bottom so it looks like she's coming out of the frame. Duplicate tube layer and on the top layer add Gaussian blur of 3 and Overlay with an opacity of 70%. Add Xero Radiance of 245,55,97,192.
Select element 8 c/p in front of E 123. Add Element 44 and place towards the bottom of the layers. Add Element 166 in front of the tube layer. Now to add the word Survivor. I used the font Monika but you can choose any other tube you'd like. Choose your color and add Noise of 40 gaussian and monochrome selected. Now add Eyecandy 5 gradient glow of your choice and Sharpen. Add your name and copyrights and that's it your done! thanks for trying out my tutorial!

This tutorial was written on October 15 ,2013 by me . Any similarities to other tutorials is purely coincidental.Please do not claim as your own.This tutorial writter assumes you have a working knowledge of using Paint Shop Pro.This tutorial was done in Paint Shop ProX4, but can be use in other Paint Shop Pro versions. Please link to this blog if used for Forum Challenges.
Materials needed:
Tube: Sweet Pink by Nocturne which you can find at PicsForDesign
Scrap Kit: PTU kit BCA: A Girl's Heart by PinkParadox Productions
Mask: Vix Mask 362
star brushes of choice
Font: Connected
Font: Connected
BCA Word Art here
Filters:
Xero Radiance
Eye Candy 4000, Gradient Glow
*d/s=drop shadow, c/p= copy and paste
Let's Begin!Open up an image 700x700. Open element 154 and resize by 110.Select inside the image and expand by 10. Now select paper 12, c/p as new layer Invert and delete and deselect. Add your tube of choice and erase bottom so it can look as if she's coming out of the frame. Duplicate and on the top layer add Gaussian blur of 3 and Overlay to 70 % opacity. Add Xero Radiance of 245,55,97,192
Add Element 123 resize to your liking. Add the following elements and see my tag for placing
Element 2
Element 5
Element 42
Element 44
Element 147
Element 166
Add the word art. Now select paper 4 copy and paste as new layer and move to the bottom of all the layers. Add mask. Now add your name and copyrights and that's it your done. Hope you liked this tutorial!

Made this tag using the beautiful kit BCA: A Girl's Heart by PinkParadox Productions. This is a very stunning kit with lots of beautiful elements.

Friday, September 27, 2013

I made this CT tag for PinkParadox Productions using the awesome kit 13 Street that also matches the this beautiful tube by BeehiveStudio with the art of Ninaste! Did I mention I love this kit!!! it has so many options you can use! and this tube is equally awesome with 2 different layers!
you can purchase this kit here
and you can get the tube here
Here are the extras hope you like them


This tutorial was written on September 27,2013 by me . Any similarities to other tutorials is purely coincidental.Please do not claim as your own.This tutorial writter assumes you have a working knowledge of using Paint Shop Pro.This tutorial was done in Paint Shop ProX4, but can be use in other Paint Shop Pro versions. Please link to this blog if used for Forum Challenges.
Materials needed:
Tube: Witch Runa by Misticheskaya which you can find at PicsForDesign
Scrap Kit: PTU kit "13 Spookie Street "by PinkParadox Productions
Mask Monti's Circle Mask
star brushes of choice
Font: CF Anabelle
Font: CF Anabelle
Filters:
Xero Radiance
Eye Candy 4000, Gradient Glow
Screenworks -Dot Screen
*d/s=drop shadow
Lets Begin! Open up a new image 700x700. Select Element 197 and place in the middle of the canvas. Now place your tube in front of of Element 197. Resize to your liking and duplicate, Adjust Blur to 3. Set blend mode to Overlay with an opacity of 70%. On the bottom layer Sharpen the image and add Xero Radiance of 49,50,178,158 or just hit the random button until you find one that you like. Now add a d/s of choice. Now we add the rest of the elements! see my tag for placement.
E 14
E 41
E 55
E 116
E 146
E 160 duplicate
E 177
E 169
Once All the elements are in place Select paper 39. Add the mask. Now go add the the Dot Screen fiter. Here is were you can add your sparkly brushes of choice. I can't provide you with the one's I used because I don't remember were I got them from. Add the Copyright information. Now add your name I added added Noise of 37 and sharpened, then add a gradient glow to Medium Black. and that's it! thank you for trying out my tutorial!
Thursday, September 26, 2013

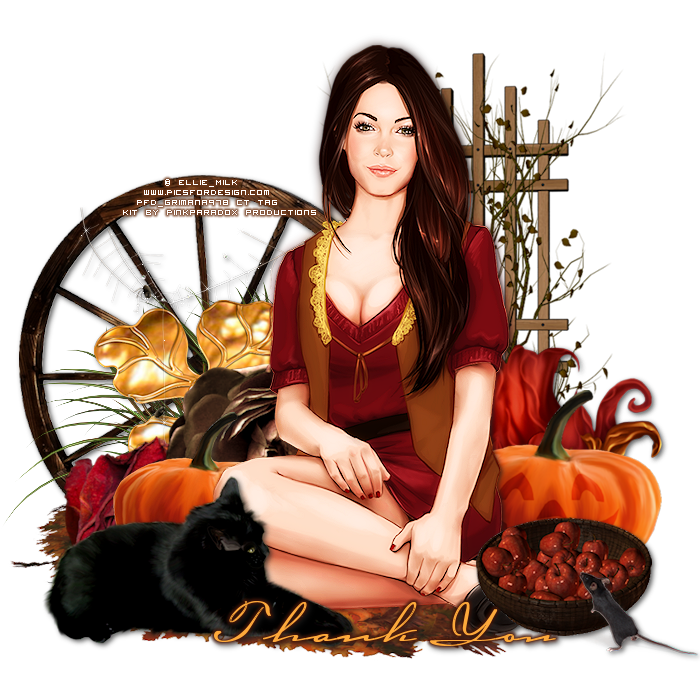
Made this tag using the beautiful kit "Autumn Eventide" from PinkParadox Productions. This kit is really beautiful and a fall must have! has so many elements and beautiful papers!
Click on the image below to purchase this beautiful kit!

here are the extras hope you like them!



Sunday, September 15, 2013

This tutorial was written on September 15,2013 by me . Any similarities to other tutorials is purely coincidental.Please do not claim as your own.This tutorial writter assumes you have a working knowledge of using Paint Shop Pro.This tutorial was done in Paint Shop ProX4, but can be use in other Paint Shop Pro versions. Please link to this blog if used for Forum Challenges.
Materials needed:
Tube: Daily Report by Ida Larsen bought when she was with DSI
Scrap Kit: PTU kit "Autumn Symphony "by PinkParadox Productions
Mask 451 by Vix
star brushes of choice
Font: Scriptina Pro
Font: Scriptina Pro
Filters:
Xero Radiance
Eye Candy 4000, Gradient Glow
Eye Candy 5 Impact, Glass
Lets begin!
Open up an Image 700x700. Select Frame 4 and place in the middle. Now with your magic wand tool click inside the frame and go to Select, Modify and Expand by 15. Open paper 26 and copy and paste as a new layer Invert and delete and Select none. Now open up your tube and place in the middle erase from the bottom so we can see the frame. Now place the following elements, see my tag for placement.
Element 6
Element 7
Element 14
Element 32
Element 114
Element 127
Add glass filter of choice to Element 14, and a d/s. Now that everything is in place select your tube layer duplicate on the top layer add gaussian blur of 3 put it as overlay and set opacity to 70. Now Sharpen the bottom layer and add Radiance of choice. Select paper 21 and add the mask. Now add your copyright info. Now for your name I just Added a gradient glow set to medium and the color to white, then added a d/s. and that's it were done. Hope you enjoyed this tutorial!
Thursday, August 29, 2013
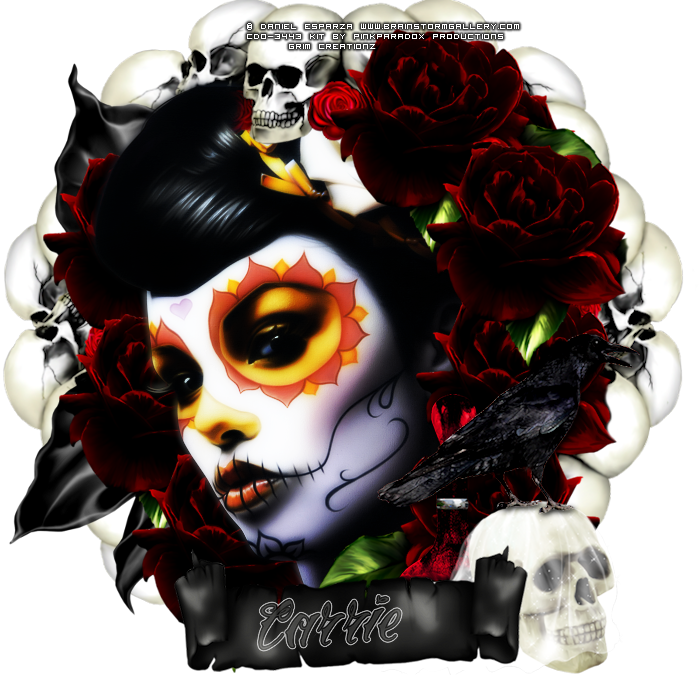

Made this tag using the beautiful kit "Gothic Midnight" from PinkParadox Productions which you can purchase at PicsforDesign. I love this kit it has a ton of elements! I also used the art of Daniel Esparza which you can purchase at CDO. Here are the extras hope you like them.


Subscribe to:
Posts
(Atom)
About Me

- Ana Grimaldo
- Hi I'm Ana or grimAna. I'm a mother of 3. I love tagging, reading, drawing and I love anything to do with homemade things or DIY!
Proud Member


